A patio can look dead straight on day one and still fail, slowly, from underneath. That’s why hard landscaping and structural garden works aren’t just “the nice bits” at the end of a renovation - they’re the bones that decide whether your outdoor space stays crisp or starts to slump. The structural mistake that quietly destroys most gardens isn’t the paving choice or the grout colour. It’s getting the levels and drainage wrong, so water has nowhere sensible to go.
You don’t notice it immediately. You notice it when a slab rocks underfoot in November, when green slime keeps coming back in the same shady strip, when the jointing sand vanishes after every downpour, when that beautiful edge course starts to open up like a zip.
The mistake: flat paving with no proper fall (or the wrong fall)
Water is patient. Give it a flat surface and it will sit there, seep into joints, and find every tiny weakness in your build-up. Give it a fall in the wrong direction and it will head for the house, the air bricks, the threshold - all the places you really don’t want it.
What makes this so sneaky is that “looks level” to the eye can still be “holds water” in real life. A few millimetres out across a couple of metres is enough to create a permanent puddle zone, and puddle zones become movement zones once freeze-thaw gets involved.
Greensand, joint haze, algae, ants, wobbles - they’re not separate annoyances. They’re symptoms of the same quiet problem: the surface isn’t shedding water predictably.
Why it wrecks outdoor spaces (even when the paving is “good”)
Most failures people blame on bad slabs are actually bad water management. Water gets into joints, then:
- washes out jointing compound or kiln-dried sand, leaving gaps for more water
- softens and pumps the bedding layer under foot traffic (that subtle “give” you feel)
- freezes and expands, lifting edges and cracking weak spots
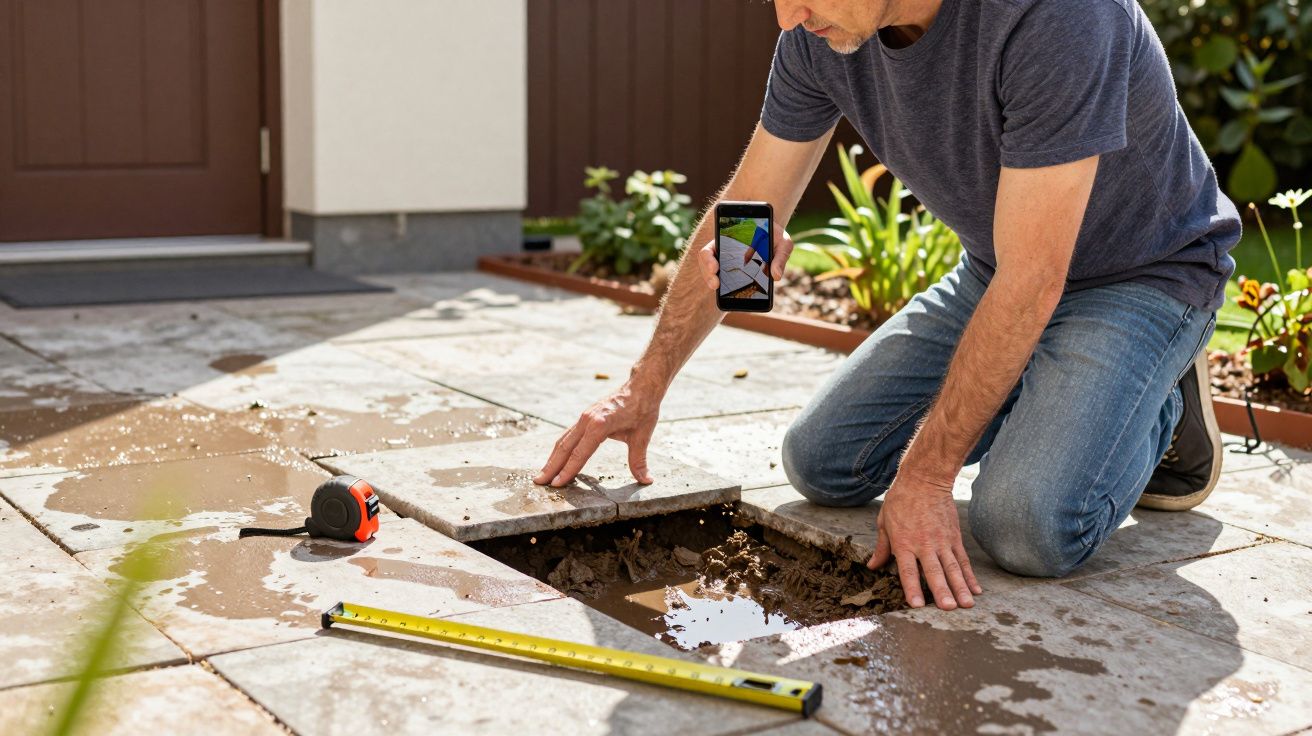
- carries fines away, so the sub-base loses support in patches
Once that starts, you get a chain reaction. One rocking slab means more water ingress. More water means more movement. And movement means your patio becomes a maintenance job instead of a place you actually sit.
A landscaper once put it to me like this:
“If you don’t tell the water where to go, it’ll choose the worst route.”
The simple check that tells you if you’re heading for trouble
You don’t need fancy kit to spot the early warning signs. Pick a wet day (or use a watering can) and look for these:
- puddles that remain after 30–60 minutes, especially near walls and steps
- darker “always damp” stripes along edges or in the middle of bays
- jointing that crumbles, gaps that reappear, or sand that keeps disappearing
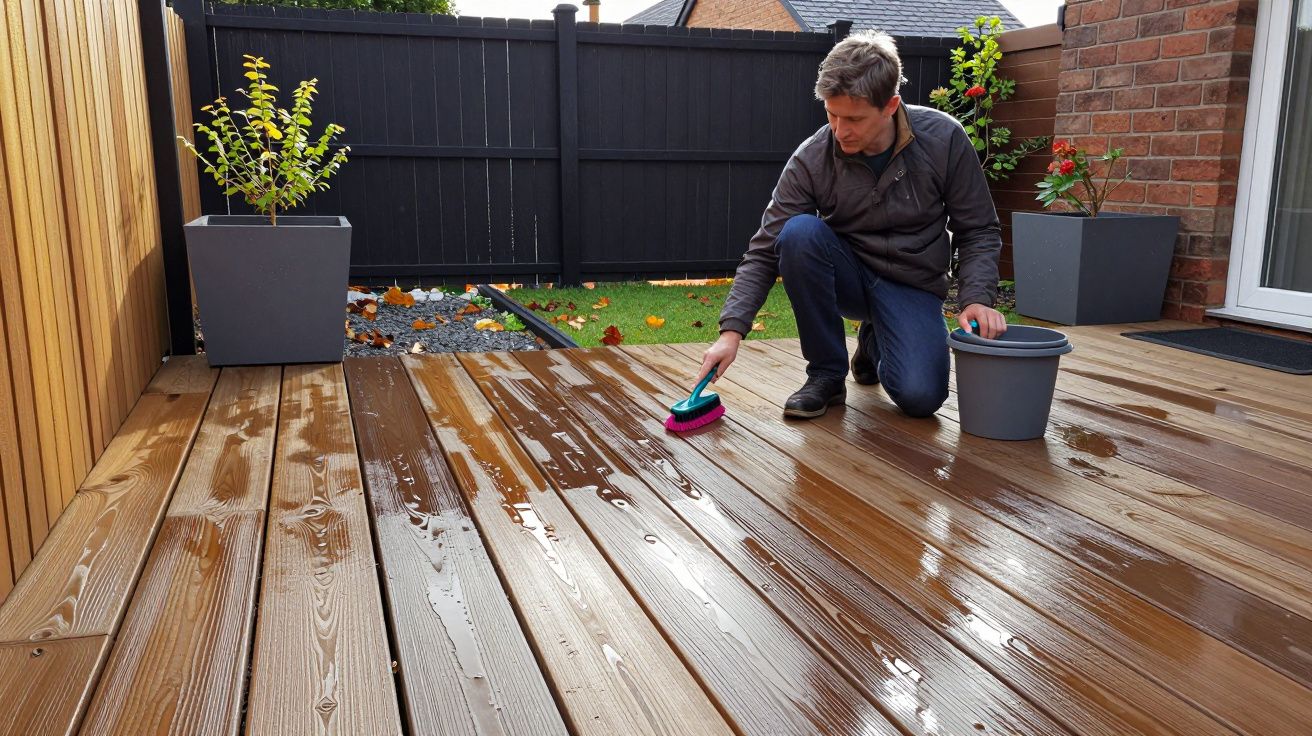
- algae returning in the same track, even after you clean it
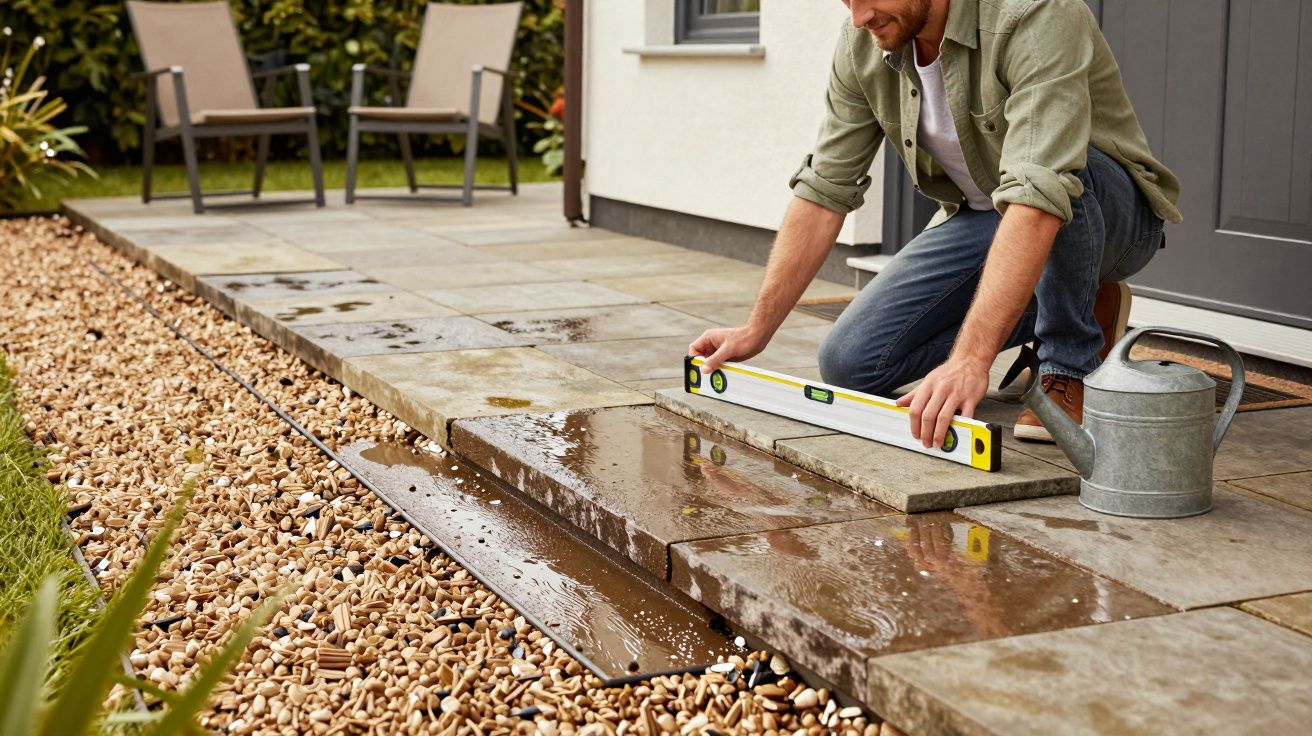
Then do the unglamorous test: run a straightedge (or a long spirit level) across the surface in a few directions. You’re not chasing perfection. You’re looking for low spots and for whether the general fall is consistent.
If you’ve got a channel where water collects, it will behave like a tiny gutter - straight into your weakest joints.
What “proper fall” actually means (without turning your patio into a ski slope)
People avoid falls because they fear a patio that looks like it’s sliding away. In reality, good falls are subtle. You feel them in how the water behaves, not in your ankles.
As a simple domestic rule, aim for a steady fall away from buildings, roughly:
- 1:60 to 1:80 for most patios (about 12–17 mm drop per metre)
The exact number matters less than consistency. A patio that drops evenly is usually fine. A patio that’s “mostly flat” with two low spots will always be a headache.
And the fall has to end somewhere sensible. If you send water to a fence line with no drainage, you’ll rot the base of the fence and saturate the planting strip. If you send it towards the house, you invite damp problems and slippery thresholds. The best route is often to a drain, a gravel strip, a lawn edge that can take it, or a purpose-made soakaway - depending on your garden and local rules.
The fix: set the levels first, then build everything to them
This is where structural garden works earn their keep. The level is not something you “tweak as you lay”. It’s the plan.
A reliable approach looks like this:
- Decide the water route: away from the house, away from air bricks, away from doors. Identify where it will discharge.
- Set fixed reference levels: thresholds, step risers, drain tops, edging lines. These don’t move.
- Create taut string lines (or use a laser) to show finished paving level with fall.
- Build the sub-base to match, compacted in layers, so you’re not trying to hide dips with bedding.
- Keep the bedding consistent (whether mortar bed or appropriate bedding for your system). “Thicker here, thinner there” is how low spots are born.
If you’re rebuilding, don’t let anyone sell you a surface-only “refresh” when the levels are wrong. A new slab on a bad fall is just a nicer-looking future problem.
A quick note on pointing and jointing
Jointing products get blamed because they’re visible. But joints fail fastest where water sits. If you’re constantly re-pointing the same area, it’s rarely because you bought the wrong compound. It’s because you’ve got a low spot, a blocked discharge point, or a fall that flips direction halfway across the patio.
Fix the water, then the jointing suddenly “starts working”.
What to ask before you pay for a patio (or sign off the work)
If you want one line that separates cosmetic work from proper hard landscaping, it’s this: ask where the water goes.
Good answers sound like a route. They mention levels, falls, and discharge. Vague answers sound like hope.
Use these practical prompts:
- “What’s the fall, and which way is it running?”
- “Where does the water discharge in heavy rain?”
- “How are you preventing water pooling at the wall/step/door threshold?”
- “Are you setting levels with string lines/laser from fixed points?”
- “What’s the plan for low spots if we find them during excavation?”
If you get clear, calm answers, you’re probably in safe hands. If you get shrugging and “it’ll be fine,” that’s how outdoor spaces quietly start falling apart.
The payoff when it’s done right
A well-built patio doesn’t shout. It just stays boring in the best way: no puddles, no wobble, no green film that returns overnight, no constant patch repairs. Chairs sit flat. Doors open without catching. Winter doesn’t feel like a stress test.
Water management isn’t the glamorous part of a garden. It’s the part that lets you enjoy the glamorous bits for years without thinking about them at all.
FAQ:
- Can I fix minor pooling without relaying the whole patio? Sometimes. If the issue is localised, a competent contractor can lift and re-bed a small area to reintroduce fall, but if the overall direction is wrong, patching is usually temporary.
- Is a slight fall away from the house always required? In most cases, yes. You want water moving away from walls, thresholds, and air bricks. Where you can’t, you’ll need a designed drainage solution (channels/soakaway), not “almost flat and hope”.
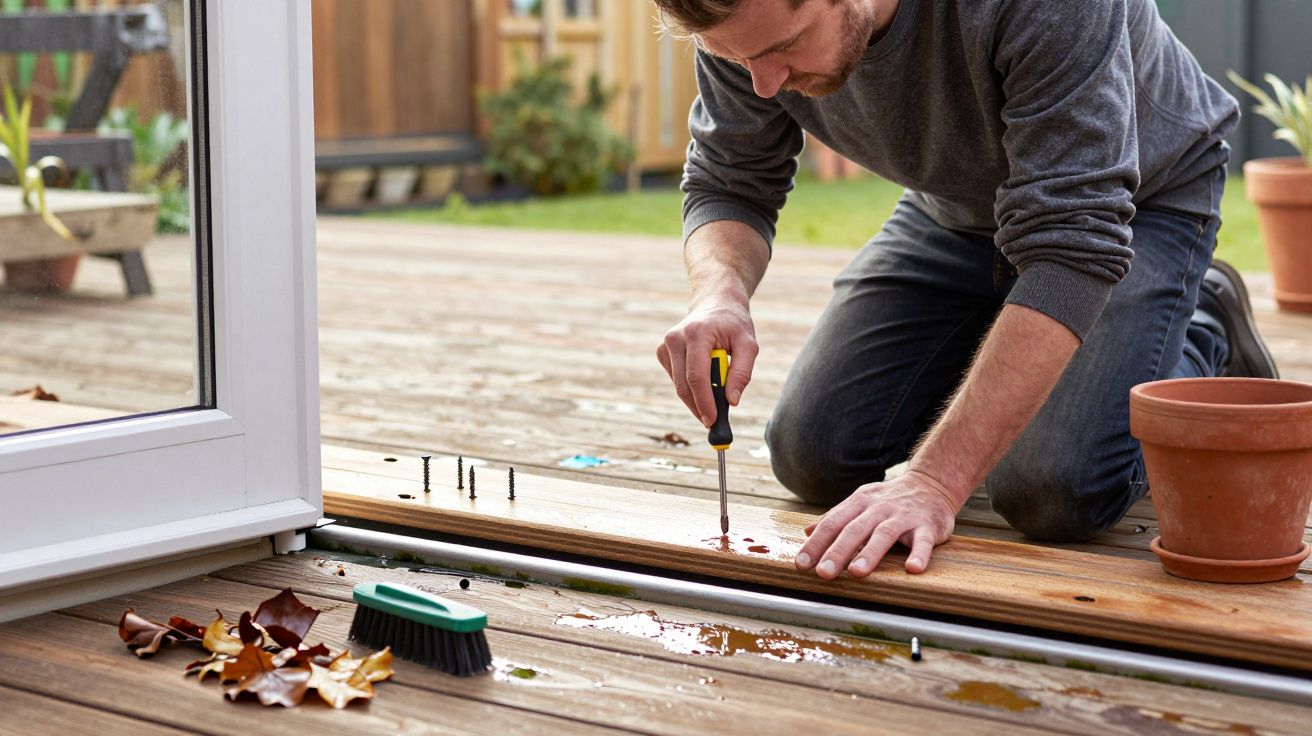
- Does the same problem apply to decking? Yes. Decking needs planned drainage and airflow. Poor falls and trapped water lead to slippery surfaces, faster rot, and movement in the frame.
- Why does my jointing keep cracking in the same place? Repeated wetting and drying, freeze-thaw, and movement from a softening bed are common causes. Persistent cracking in one zone often points to a low spot or water route issue rather than the jointing product itself.


Comments (0)
No comments yet. Be the first to comment!
Leave a Comment