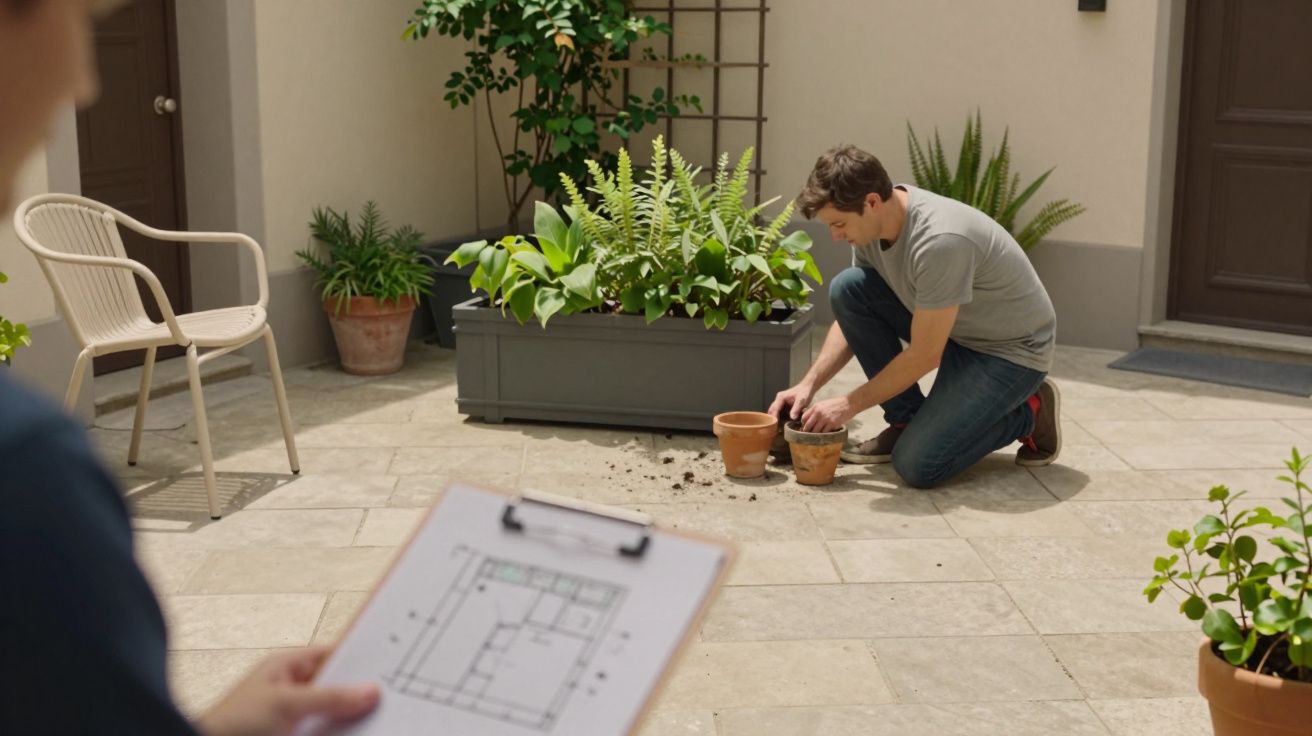
A garden redesign often looks “simple” on paper until level changes show up in the first site visit. The moment you have a drop, a rise, or even a gentle fall that needs controlling, you’re no longer just choosing plants and paving-you’re managing structure, drainage, and safety. Get it right and the garden feels effortless; get it wrong and you inherit wobbly steps, soggy corners, and cracking edges.
Most people only notice the visible part: a couple of steps, a small wall, a terrace that sits neatly by the back door. What drives cost and complexity is what sits behind that look-how the ground is retained, where water goes, and how every finished level ties back to the house.
Why levels change everything
Level changes force decisions you can’t “tweak later”. Once you set a finished patio height, you’ve locked in step counts, threshold details, and how surface water must fall away. If you change your mind halfway through, you often undo work rather than adjust it.
They also turn a decorative project into one with engineering-like constraints. Walls need foundations, steps need consistent risers, and paving needs a fall that works with drains and the building, not against them.
The rebuild moment is when you stop asking “what looks nice?” and start asking “what holds, drains, and lasts?”
The hidden triggers that turn “redesign” into “rebuild”
1. Retaining isn’t optional
Any time you cut into a bank or build up a platform, you’re retaining soil. That can be a sleeper wall, blockwork, stone, or reinforced systems, but it still needs proper base prep and, often, drainage behind it.
A common mistake is treating a low wall as landscaping when it’s actually holding back tonnes of ground. Even 450–600 mm can push hard after heavy rain.
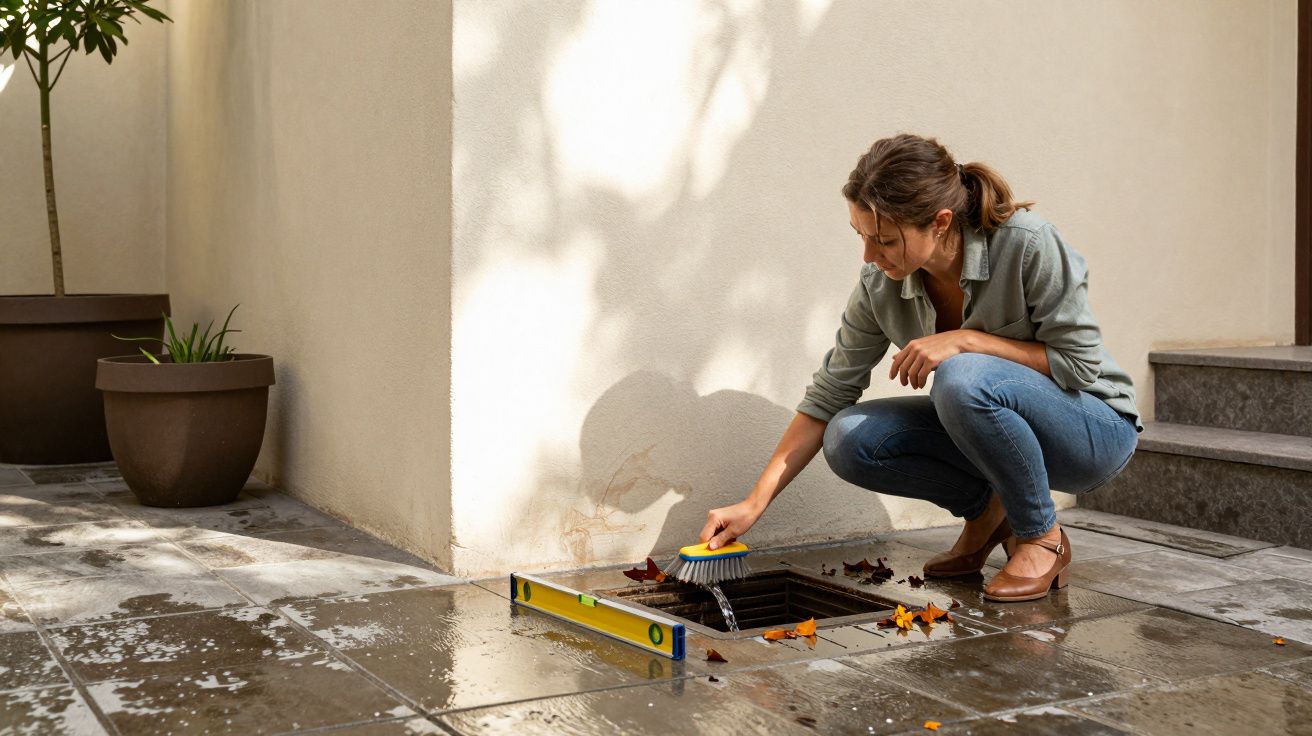
2. Drainage becomes a design constraint
On flat gardens, you can sometimes get away with small falls and a soakaway. With level changes, you create collection points-at the bottom of steps, behind walls, and where terraces meet lawns. These spots are where water sits, freezes, and shifts materials.
Plan for water early:
- Falls on hard surfaces (away from the house).
- Gravel strips or channels where paving meets walls.
- Land drains behind retaining walls where needed.
- A clear route to a soakaway or suitable outfall.
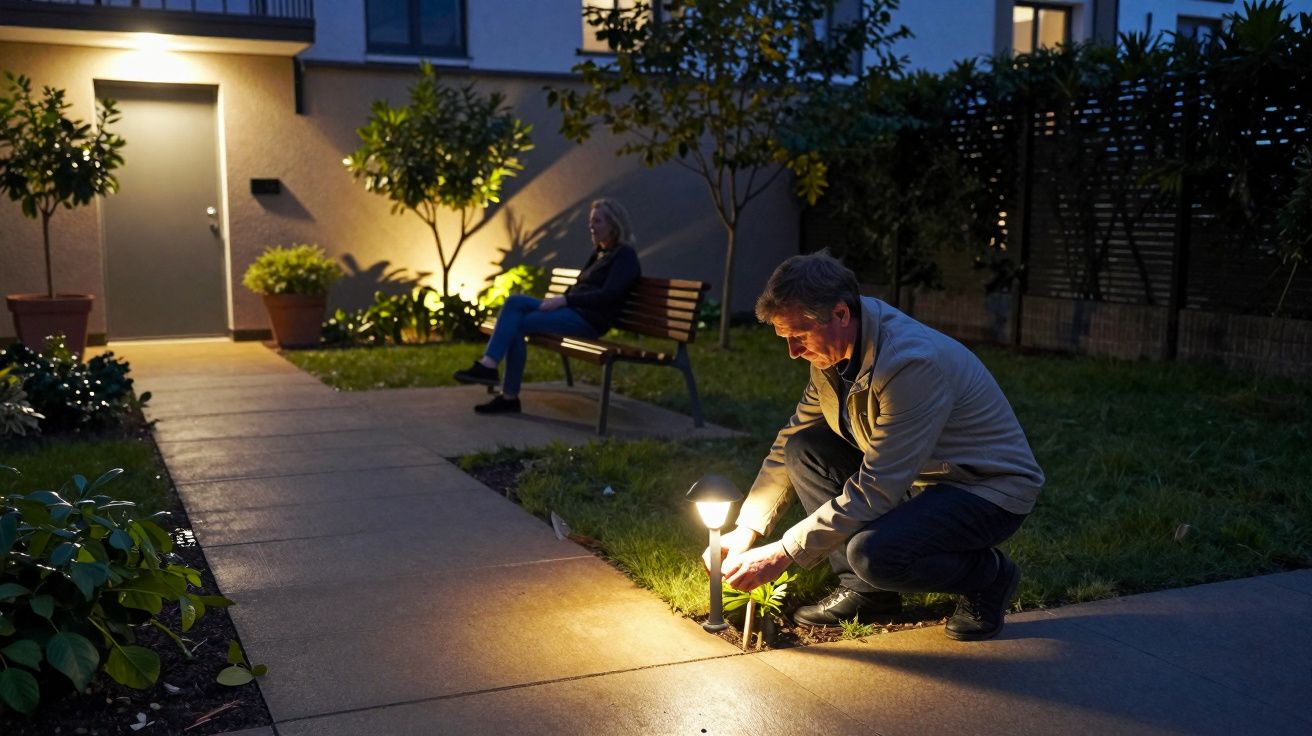
3. Steps have rules, not vibes
Steps that “feel” right usually follow consistent geometry. When levels are awkward, people try to hide it with one odd step, a sloped slab, or a deep riser. That’s when trips happen.
Aim for:
- Consistent riser heights across the whole flight.
- Enough tread depth for real feet, not just toes.
- Lighting where the step edge disappears at dusk.
- Handrails if the drop and location call for it.
4. Boundaries and neighbours suddenly matter
Changing levels near fences can load a boundary or redirect water. That’s how disputes start: a new patio sends runoff next door, or a raised bed pushes a fence line.
If you’re close to boundaries, treat it like a mini civil job: keep water on your side, avoid loading shared structures, and consider whether permissions or agreements are needed.
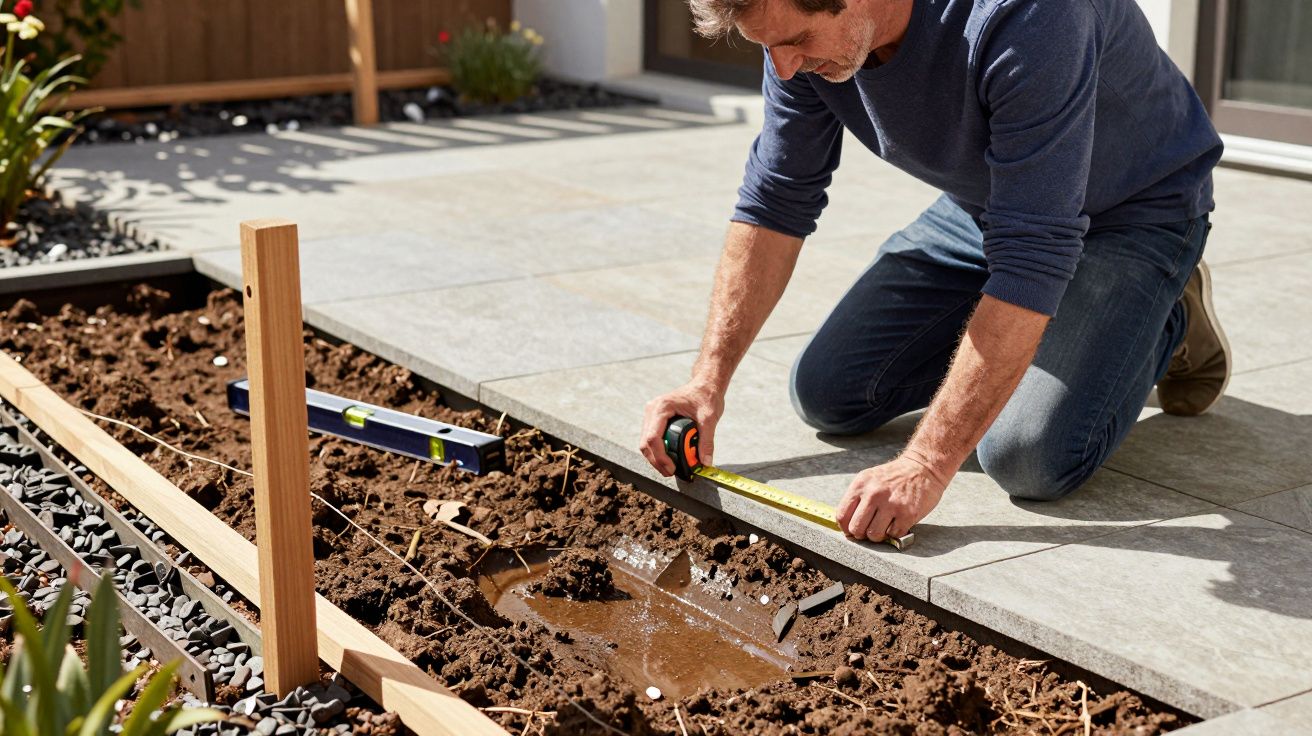
Start with the levels, not the materials
Before you choose porcelain, sandstone, or composite decking, map the ground. The goal is a simple “level story” that explains how you move through the garden and how water leaves it.
A quick sequence that prevents expensive rework:
- Fix the house threshold and any air bricks you must not cover.
- Decide the main terrace height and its fall direction.
- Set lawn or lower terrace height based on drainage and use.
- Place steps where they naturally belong, not where they fit leftover space.
- Only then pick finishes, edging, and planting.
This order feels backwards if you’re used to mood boards, but it’s what keeps the build clean.
Three level-change patterns that usually work
1. One strong terrace, one clear transition
If the drop isn’t huge, a single terrace by the house with a short, well-built step down to lawn is often the cheapest and most robust. It avoids lots of small retaining edges that move independently over time.
Good for: family gardens, low maintenance layouts, straightforward drainage.
2. Split levels with a “landing” that earns its keep
For bigger drops, you can break the journey with a mid-level landing that becomes a seating nook or planter zone. It reduces the visual height of retaining and makes the route feel intentional rather than patched.
Good for: long narrow plots, gardens where privacy screening matters.
3. Terracing that follows the slope (but controls water)
True terracing can look beautiful, but it only works when each level has a drainage plan and each wall is detailed as a retaining element, not a raised bed. Done properly, it stabilises a slope; done casually, it creates wet pockets and bulging edges.
Good for: steep sites, gardens needing usable flat areas.
What to budget for when levels appear
Costs vary wildly, but the “level” elements are usually the multipliers. If you’re trying to sanity-check quotes, focus on what’s structural versus decorative.
| Element | Why it adds cost | Typical signs it’s needed |
|---|---|---|
| Retaining + foundations | Labour, materials, spoil removal | Cut/fill, banks, raised platforms |
| Drainage works | Prevents pooling and pressure | Water collects at low points |
| Steps and edges | Precision and safety detailing | Multiple thresholds, awkward drops |
If your contractor talks mainly about slab prices and barely mentions water, falls, or wall build-ups, pause and ask for the level plan in writing.
The “simple” decisions that cause expensive failures
These are the repeat offenders in level-change gardens:
- Raising a patio above the damp-proof course or blocking air bricks.
- Building a wall without drainage behind it (no weep holes, no land drain).
- Using sleepers where they’ll stay wet and rot faster than expected.
- Running paving level because it “looks cleaner”, then chasing puddles forever.
- Mixing too many small levels, so every junction becomes a weak point.
A neat line of paving is easy to draw. It’s much harder to make it fall correctly and still look neat.
A practical checkpoint before you commit
Walk the garden after heavy rain if you can. Mark where water sits, where it runs, and where the ground feels soft. Then do a basic measurement: house threshold height, current patio height, lowest point in the garden, and the total drop.
If the total drop is more than you expected, treat the project as part landscape, part build. That mindset is what keeps a garden redesign from turning into a stressful surprise once the digger arrives.


Comments (0)
No comments yet. Be the first to comment!
Leave a Comment