You can spend weeks perfecting the levels, lawns and planting, only to find the real issue later. Retaining walls in garden construction often look “done” the moment they’re faced and backfilled, but one hidden detail can decide whether the space stays crisp or slowly starts to move. It’s relevant because the warning signs usually show up after the patio is laid, beds are edged, and access for repairs is at its worst.
The problem isn’t always a dramatic collapse. More often it’s a slow, expensive drift that starts with water you never see.
The fault that hides until everything looks finished
A retaining wall is not just a stack of blocks holding soil back. It’s a structure that has to manage pressure from the ground, and water multiplies that pressure fast.
When drainage is missing or under-sized, the backfill turns into a sponge. The wall may look perfectly straight at handover, then bow slightly after the first wet winter. By the time you notice, the area in front is usually complete: paving, steps, lights, planting, and sometimes a fence line tied into the same levels.
Why water is the silent load behind most failures
Soil pressure is predictable; water pressure is not. Saturated backfill gets heavier, hydrostatic pressure builds, and freeze–thaw can push small movements into bigger ones. Clay soils make it worse because they hold water and expand.
You’ll often see the symptoms long after the cause:
- A hairline crack that reappears after you “patch” it
- Coping stones lifting slightly at one end
- A gentle belly in the wall face that you only notice in low evening light
- Paving near the base starting to dip or open joints
The detail that gets skipped: a complete drainage path
What “good drainage” actually means for retaining walls
Drainage is not just a few holes in the face. It’s a continuous path for water to leave the back of the wall before pressure builds.
In most garden construction builds, a reliable setup includes:
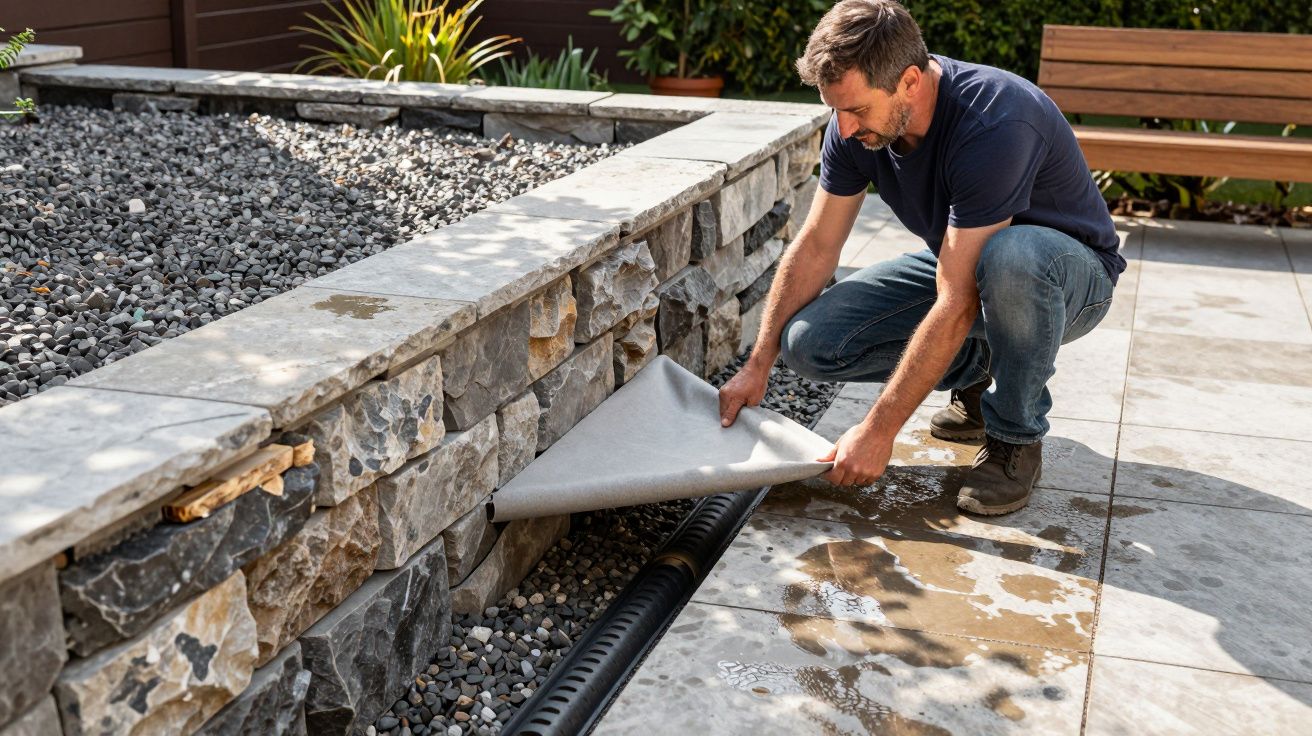
- Free-draining aggregate directly behind the wall (not soil)
- A geotextile layer to stop fines clogging the stone
- A perforated land drain at the base, set to fall to daylight or a soakaway
- Weep holes only as a secondary release, not the main plan
If any one part is missing, the system can still look fine for months. Then silt migrates, the stone clogs, and water starts behaving like concrete behind the structure.
The “looks tidy” backfill that causes trouble later
A common mistake is backfilling with whatever came out of the hole because it compacts neatly and seems stable. It also traps water, especially when topped with membrane, turf, or tight planting that slows evaporation.
Another is letting a patio or path fall towards the retained area. That runoff feeds the backfill every time it rains, and the wall is forced to manage water it was never designed to take.
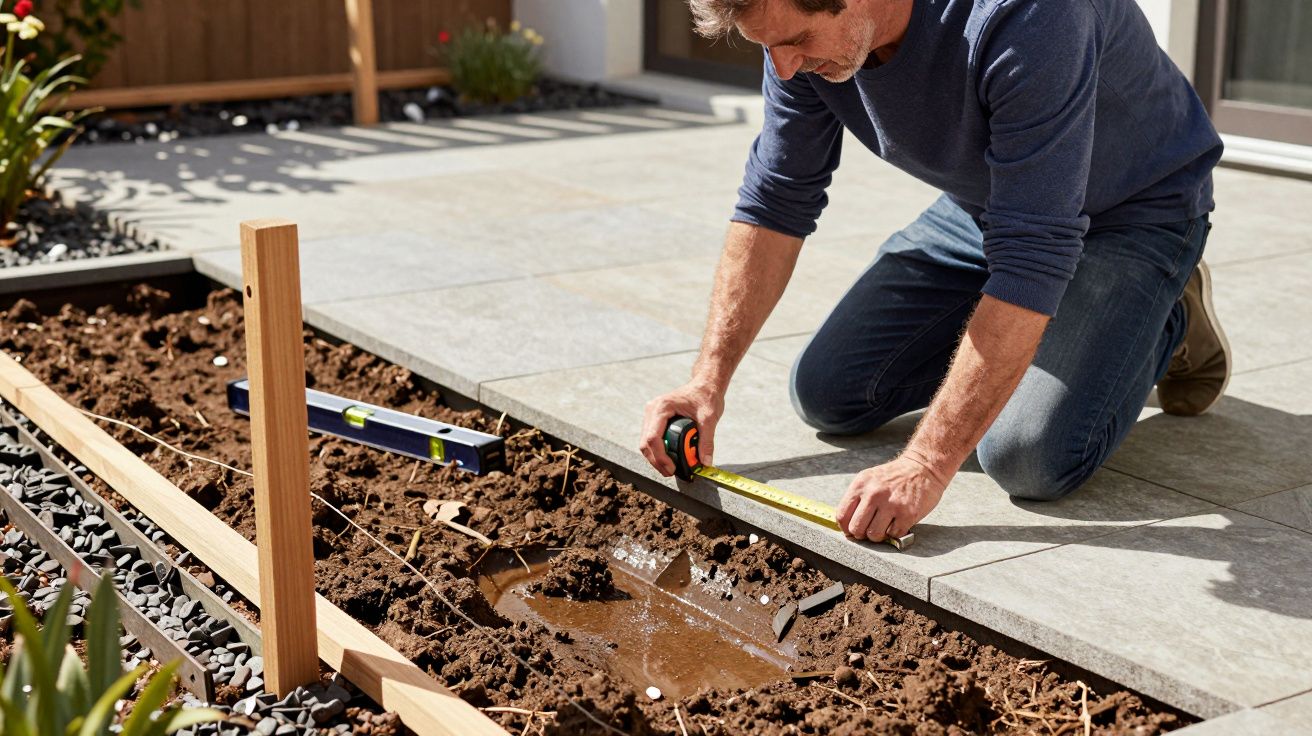
Quick checks before you sign off the finished space
You don’t need to expose everything to spot risk early. A short inspection catches most drainage-led problems while access is still reasonable.
- Look for a visible outlet for any land drain (a discreet pipe end to daylight, or a clear soakaway detail on plans).
- After heavy rain, check whether the area behind the wall stays boggy for days.
- Tap along the face and listen for hollow spots that suggest voiding or washout.
- Sight down the wall from both ends; small bows are easier to see at a shallow angle.
- Confirm the top is capped or detailed to shed water, not funnel it behind.
Simple rule: if water can get behind the wall, it must have an easy way out. “It’ll soak away” is not a detail.
What to do if you notice it only after completion
The aim is to reduce water load first, then assess movement. Cosmetic fixes before drainage usually fail, because the pressure remains.
Low-disruption options that sometimes work
- Add a surface channel drain to intercept runoff heading towards the wall.
- Regrade adjacent paving (or reset a strip) so water falls away.
- Install discreet outlets if a buried land drain exists but was never brought to daylight.
When you need a proper rebuild conversation
If the wall is leaning, bulging, or cracking through units, assume the structure is being overloaded. At that stage, proper remediation may involve partial dismantling to add drainage and rebuild with correct reinforcement or batter.
Also be cautious if the wall supports steps, a driveway, or sits near boundaries. Loads and liability change quickly, and “garden wall” assumptions stop applying.
Build it once: a practical spec for garden construction
If you’re planning a new retaining wall, the most cost-effective moment to get drainage right is before the backfill goes in.
- Specify the drainage build-up in writing, not as a vague note.
- Keep soil out of the drainage stone with geotextile.
- Give the land drain somewhere to go that won’t silt up.
- Photograph the drainage before it’s covered (future you will thank you).
- Don’t let finishes dictate falls that drive water into the retained zone.
A retaining wall should disappear into the design. When drainage is done properly, it does-quietly, for years, without the slow reveal that only starts once everything else is finished.


Comments (0)
No comments yet. Be the first to comment!
Leave a Comment