The best garden transformations usually arrive as a swipe: a patio where there used to be rubble, a border that suddenly “works”, a lawn that looks like velvet. Before / after transformations are useful because they help you decide where to spend your money and effort - but they also hide the part that actually costs you: time, mess, and repetition.
You don’t see the weeks of digging that didn’t go anywhere, the plants that sulked for a season, or the edging that looked crisp for ten minutes and then buckled. The photo tells the story of the end. The garden tells the story of everything in between.
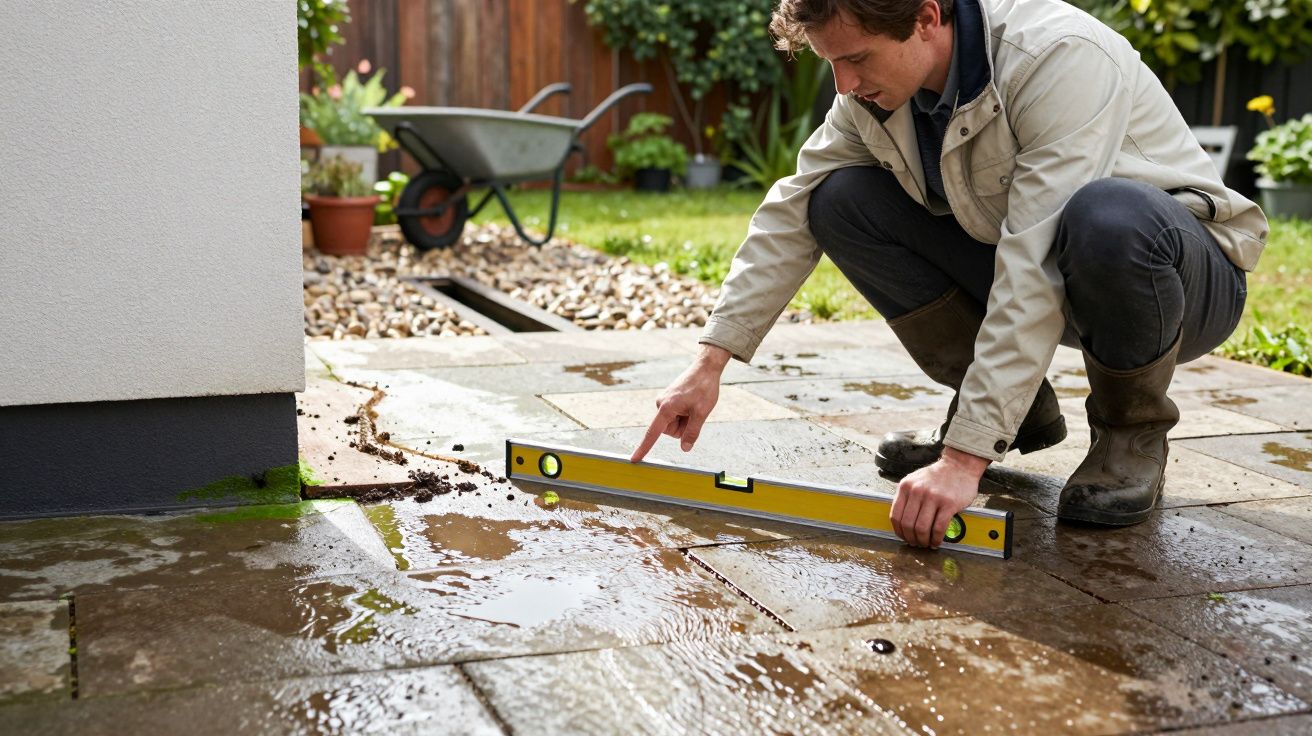
What the before-and-after frame leaves out
A garden doesn’t transform; it renegotiates. Soil compacts, drains, heats up, dries out, and changes its mind depending on the month. What looks like a “new bed” in a photo is often a whole chain of quiet fixes: correcting levels, shifting a downpipe, removing rubble, finding out the hard way where the shade actually lands at 3pm in July.
Before shots also lie by accident. They’re taken when everything looks worst: winter, neglect, the day after you cut something back too hard. After shots lie by timing: golden hour, fresh mulch, the first warm week when the perennials finally look like the label.
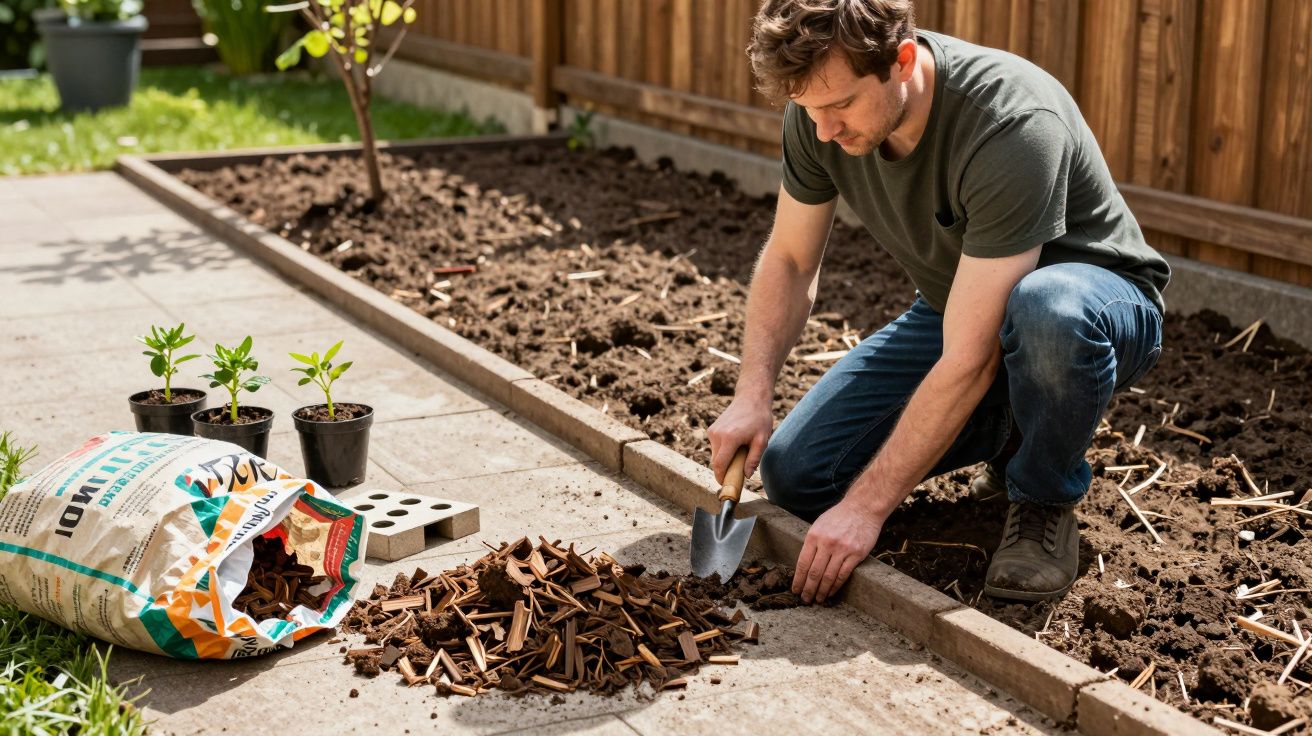
And the brutal truth is this: most of the visible improvement comes from unglamorous work you can’t photograph well. The people with the best “after” gardens usually did the boring bits first.
The real cost is not money - it’s the middle
There’s a specific stage in every tidy transformation when the garden looks worse than it started. You’ve removed the old, but the new hasn’t settled. The ground is bare. The borders look like a building site. The plants are small enough to make you question your judgement.
That stage is where most projects die, because it’s emotionally expensive. It’s hard to keep going when your garden is a muddy argument and the only reassurance you have is “it will knit together”.
If you want your own transformation to survive that middle, plan for it like you would for bad weather. Not as a surprise, but as part of the schedule.
- Expect 2–6 weeks where the garden looks unfinished, even if you’re doing everything right.
- Expect one decision you’ll regret (usually plant spacing or path width).
- Expect maintenance to increase before it decreases: watering, weeding, staking, sweeping.
Why “instant impact” often backfires
Instant impact is a style of buying: big shrubs, mature hedging, lots of plants packed close so it looks full immediately. Sometimes it works brilliantly. Often, it creates a quiet future problem you only notice when everything starts competing.
Crowded planting turns into fungal issues, weak growth, and the sort of pruning you dread because it feels like undoing what you paid for. A lawn laid onto poor soil can look perfect for a month, then reveal every dip, every drainage issue, every dog route. New gravel looks clean until the first wind-blown leaves mash into it and teach you what “maintenance-free” actually means.
None of this is a reason not to do it. It’s a reason to treat the “after” photo as a starting point, not a finish line.
“A garden can look finished in a photo long before it behaves like one.”
How to read a transformation photo like a gardener
You don’t need to become cynical. You just need to read the clues that a camera can’t help revealing if you know where to look.
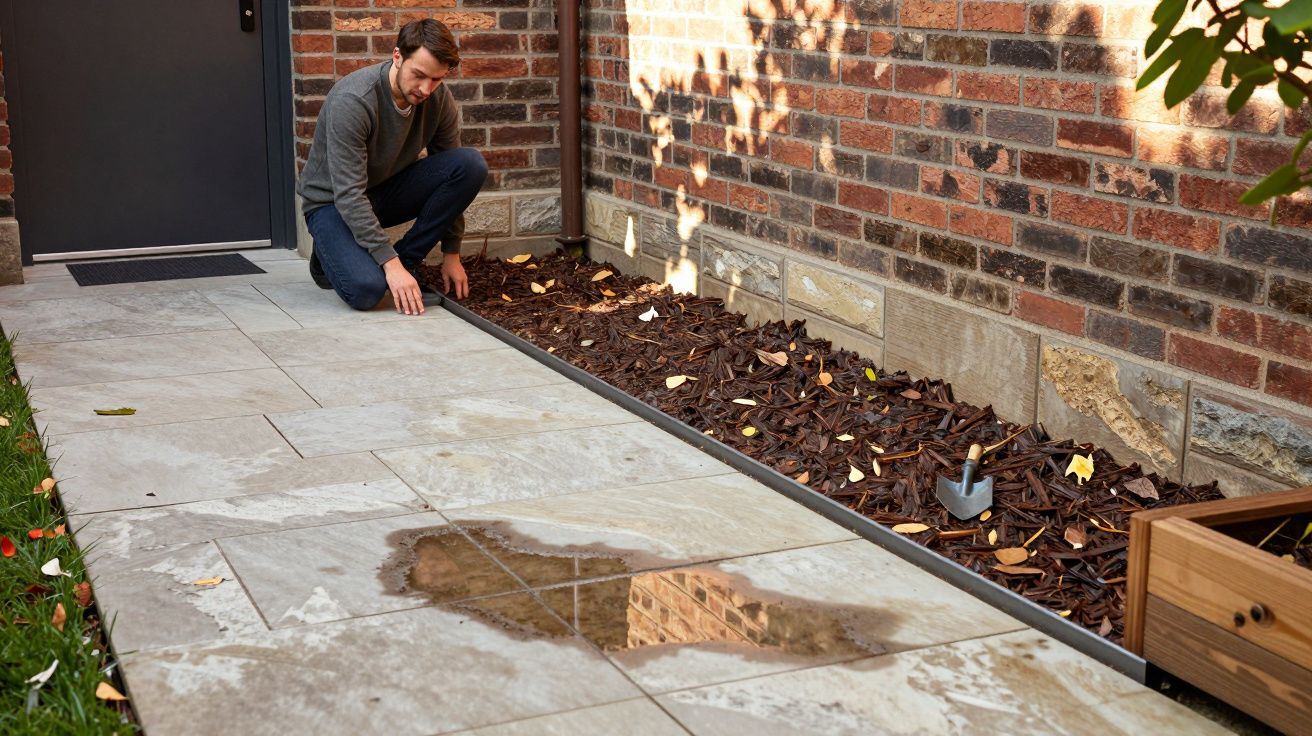
Check the edges first. Crisp edging is usually the shortest-lived part of a makeover, and it tells you whether the structure is solid or just freshly styled. Look at the soil surface: is it mostly mulch (new) or plant cover (established)? Look at scale: are the shrubs too close to the fence, the path too narrow for two people, the tree too near the house?
Then ask the question that never fits in a caption: what happens here in February? Winter is where designs either hold their shape or collapse into damp confusion.
A quick “reality filter” you can run in ten seconds:
- Drainage: Where does rain go? (You can often spot it from paving levels.)
- Shade: What will be in shadow when the tree leafs out?
- Access: How do you reach the back of that bed to weed it?
- Growth: What does this look like in three years, not three weeks?
The habit that makes transformations last
The people who get satisfying gardens aren’t always the most talented. They’re the most consistent. They do small corrections before the garden demands expensive ones.
That usually looks like this: top up mulch before weeds seed, lift and relay a loose paver before it becomes a wobble, prune early rather than hack late, move a plant that’s struggling instead of blaming it for “not working”.
If you want one simple practice, make it seasonal and boring on purpose: a 30-minute “reset” once a fortnight during the growing season. It keeps the garden inside the boundaries of your life, rather than turning it into a project that only gets attention when it’s gone feral.
A more honest way to plan your own before-and-after
Try planning for phases, not photos. Your “after” isn’t one image; it’s a sequence.
- Phase 1 (structure): levels, drainage, paths, edging, access.
- Phase 2 (bones): trees/shrubs, screening, anchors, soil improvement.
- Phase 3 (soft fill): perennials, grasses, bulbs, groundcover.
- Phase 4 (settling): gaps, losses, rearrangements, the second round of mulching.
If you’re paying someone, ask them what Phase 4 looks like. If you’re doing it yourself, budget energy for it. The most expensive garden is the one you redo because you believed the “after” was permanent.
| What the photo shows | What usually mattered more | What to do about it |
|---|---|---|
| Neat borders and clean lines | Edging depth, levels, maintenance habit | Build edges properly; schedule resets |
| Lush planting straight away | Soil condition and spacing | Improve soil; plant for year 3 |
| “Low maintenance” surfaces | Leaf fall, weeds, drainage | Choose for your site, not the caption |
FAQ:
- Why does my garden look worse halfway through a makeover? Because removal is immediate and settling is slow. Bare soil, small plants, and disturbed ground always look harsher before they knit together.
- Are before / after transformations still useful? Yes, if you treat them as inspiration and ask what’s missing: season, scale, drainage, and the maintenance behind the shot.
- What’s the biggest mistake people make copying an “after” photo? Overcrowding plants for instant fullness. It looks great quickly, then creates pruning, disease, and replacement costs later.
- How long before a garden looks “established”? Typically 2–3 growing seasons for borders to knit, and longer if soil and drainage need work first.
- What should I prioritise first in garden transformations? Structure: access, levels, drainage, and soil. Pretty planting works best when the boring parts are already handled.


Comments (0)
No comments yet. Be the first to comment!
Leave a Comment